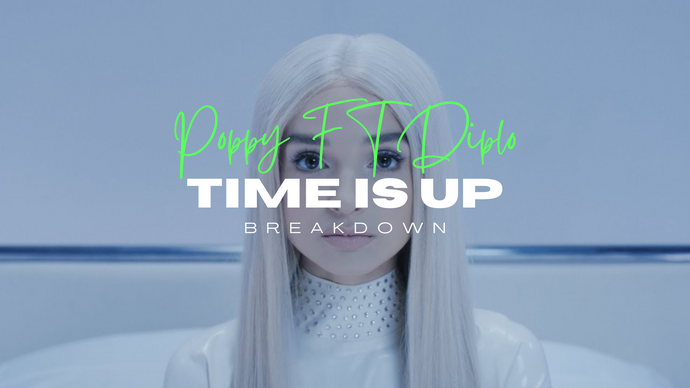
Poppy Ft Diplo "Time Is Up" Breakdown
"Time is Up" is a truly incredible song with a sound design that blends pop, EDM, and synthwave into an electrifying mix. Poppy is known for her ability to blend genres and create a unique and captivating experience, and this song is a perfect example of that. From the smooth basslines to the intricate synth arpeggios, there's so much to explore and learn from this track.
This article was possible because all of the presets from this breakdown came from our Dark Synthwave Serum pack and it has have 20% off with the code: DS01.
RELATED BREAKDOWNS
- The 1975 "Somebody Else" Breakdown
- Charlie Put "Light Switch" Breakdown
- Miley Cyrus "Flowers" Breakdown
This bass was so much fun to make because it has this cool sliding effect between notes, to achieve this, all you need to do is to first overlap some notes, then activate the legato and make sure the synth is in mono and set the portamento time to around 500 ms and you're good to go!
Now, let's move on to the rest of the patch, to create this bass sound, we used a Basic_Mdc wavetable in oscillator "A" and an IHasCanKick in oscillator "B", then, we added an envelope with 2.80 s of decay and routed it to the cutoff of the filter.
For the final touch, we used an LFO to modulate the amp (you'll find this inside the Matrix tab). Set the LFO to a quarter note, and it'll work like a sidechain effect. And that's it!

Let's talk about the main chords, they're played throughout the song, and the synth sound doesn't change either, to create this sound, we started by using a SawRounded wavetable in oscillator "A" with 9 voices, and an IHasCanKick in oscillator "B" with just one voice, next, we used envelope 2 to modulate the cutoff of the filter with a decay at around 6 s, this gives the sound a sweeping effect that's just perfect, then use an LFO to modulate the panning and the phase so it has some movement and a wider stereo image.

So now let's recreate the amazing pad that enters in the second part of the first verse, we think it's the main sound of the song because it adds so much contrast to the main synth sound and they pairs up so nicely.
To create this sound, we used an IHasCanKick in oscillator "A" with 11 voices to make it nice and wide, in oscillator "B", we used a Basic_Mdc wavetable, but here's the secret part of this patch, we set the portamento to always and the time to around 350 ms, to add even more depth to the sound, we used LFO 1 to modulate the levels of the oscillators with a quarter note rate.

Now lets make this really cool element in song that's quite easy to miss because it's not that present in the mix, but trust me, it's there and it adds so much movement to the track! I'm talking about the stab sound that follows the same chord progression as the main synth.
To create this sound, we started by choosing a PWM DS wavetable in oscillator "A" and a Saw wave in oscillator "B", then, we used an LFO that looks like the one in the image below to modulate the levels of the oscillators (and sub oscillator), the cutoff and the resonance of the filter, and even the noise, and for the final touch we went to the FX tab and added an eight-note ping pong delay to give the sound even more depth and movement.


Now here comes the tricky part, go to your FX tab and use LFO 2 to modulate the frequency of your phaser, the cutoff of your filter (make sure you are using the Formant III type) and the EQ to give some gain to your high frequencies.

We've finally arrived at the last part o the track which is the bass sound in the chorus, this part is really cool because the song changes from a sweeping synthwave bassline to a more plucky and funky one. To create this sound, we used an IHasCanKick wavetable in oscillator "A" and a Basic Shape in its second position in oscillator "B", then, we used envelope 2 to modulate the cutoff and the resonance (which should be at around 45%) of the filter. This gives the sound a nice and funky quality that's just perfect for the chorus, to add even more depth and character to the sound, we added some compression and distortion in the FX tab.